
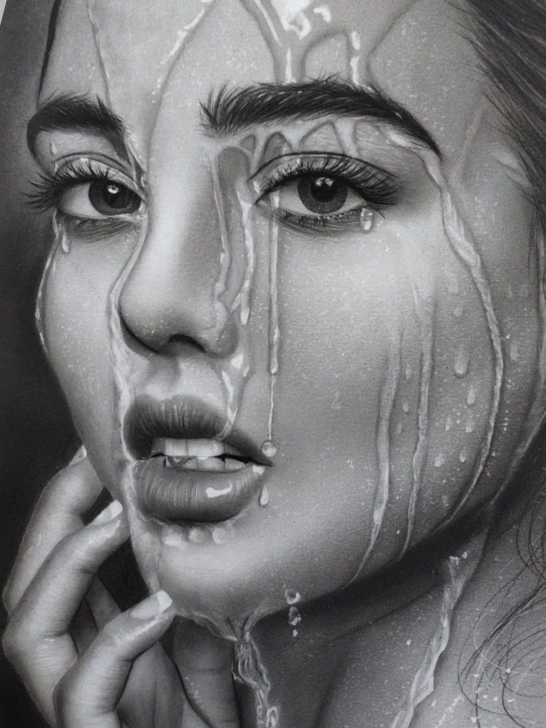
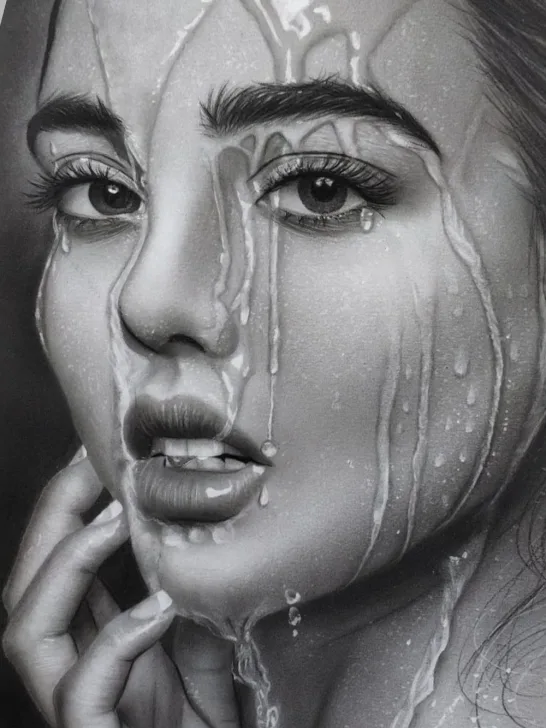
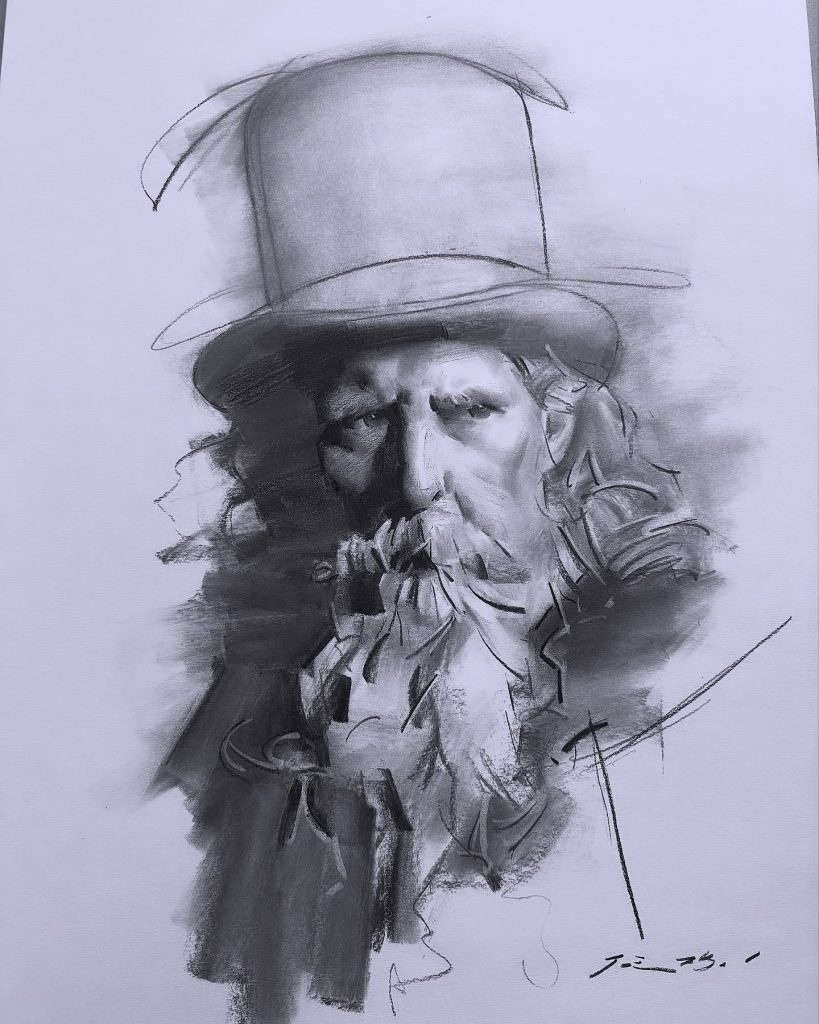
Charcoal drawings have a unique beauty—a raw, expressive quality that captures emotion and detail like no other medium. But this beauty comes with a delicate nature, as charcoal is fragile and prone to smudging or fading over time. Sealing a charcoal drawing is more than a practical step; it’s an act of preservation, ensuring that your art remains as vivid and impactful as the day you created it.
Every stroke of charcoal tells a story, and protecting that story is a way of honoring your creativity and effort. Whether you’re a beginner exploring the medium or an experienced artist, knowing how to properly seal your work allows your art to endure, standing as a testament to your skill and vision for years to come.


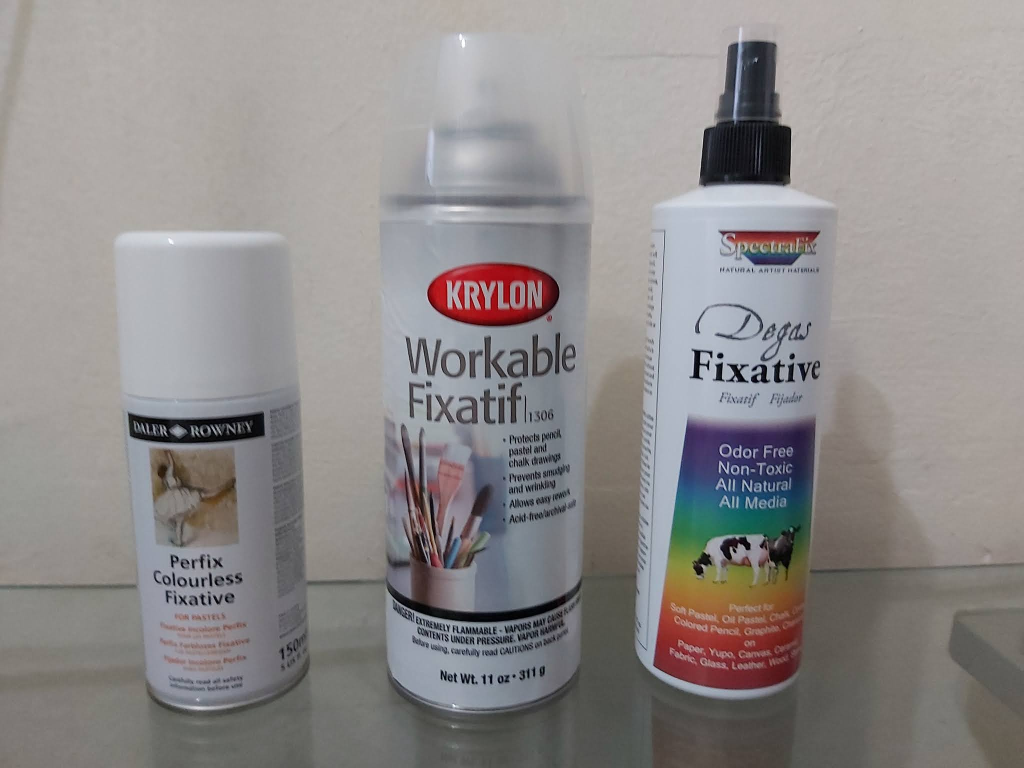
Materials You’ll Need:
- Fixative spray (preferably matte, designed for charcoal and pastels)
- A clean, well-ventilated workspace
- Protective mask (optional but recommended for aerosol sprays)
- Spray board or surface to protect surrounding areas

Steps to Seal Your Charcoal Drawing:
- Choose the Right Fixative
- Use a workable fixative if you plan to continue working on the drawing after sealing. This allows for more layers.
- Use a final fixative for a finished drawing, as it provides a more durable seal.
- Prepare the Workspace
- Work in a well-ventilated area to avoid inhaling fumes.
- Lay down a protective covering (newspaper, cardboard, or plastic) to protect your surface.
- Test the Fixative
- Before spraying your artwork, test the fixative on a scrap piece of paper or an unimportant charcoal sketch to see how it reacts.
- Position the Drawing
- Place your drawing on a flat surface or mount it vertically on an easel.
- Ensure the drawing is flat and free from dust.
- Spray Evenly
- Hold the can about 12-18 inches (30-45 cm) away from the drawing.
- Spray in light, even layers, moving horizontally across the artwork. Avoid saturating the paper.
- Let the first layer dry completely before applying a second coat if needed.
- Let It Dry
- Allow the fixative to dry completely before handling the drawing. This usually takes around 10-15 minutes, but check the product instructions.
- Store Safely
- Once sealed, store the drawing in a portfolio, frame it with glass, or mount it in a way that prevents further contact with the surface.


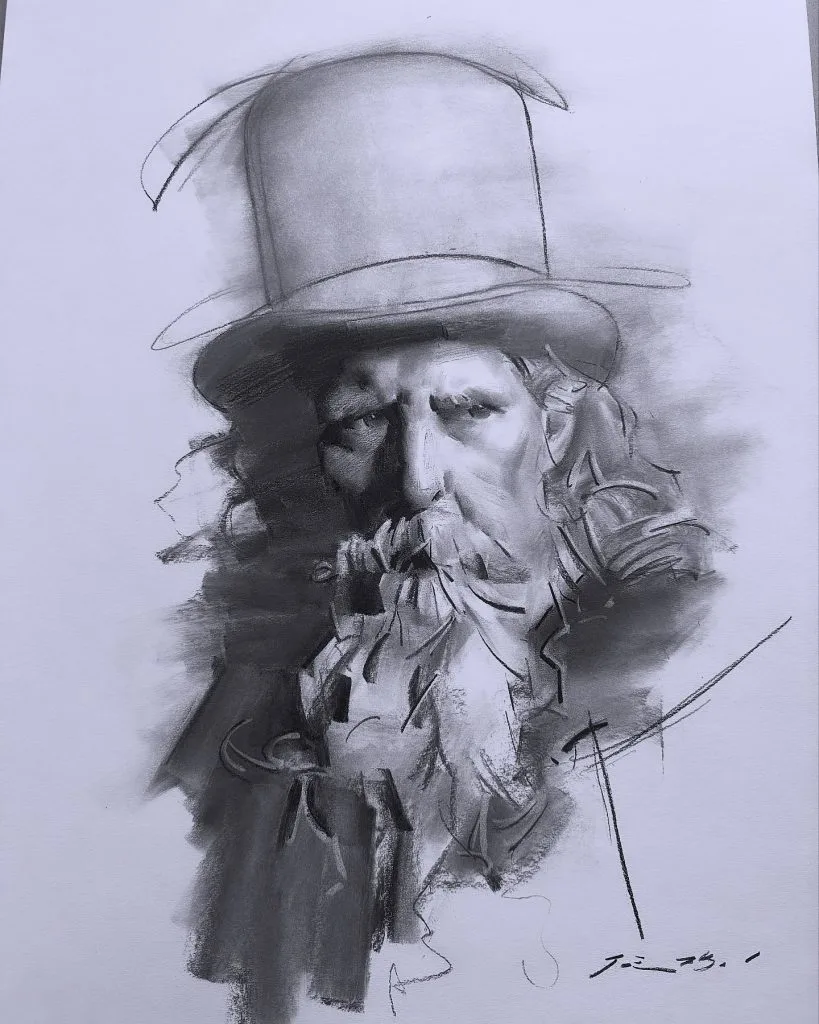
Liking this drawings? see more charcoal drawing ideas
Tips:
- Avoid spraying too close, as it can create uneven patches or spots.
- Always keep the can in motion to prevent buildup in any one area.
- Use acid-free paper or backing when framing your artwork to prevent long-term damage.
Alternative Methods to Seal a Charcoal Drawing
If you don’t have access to a professional fixative, there are other ways to seal your charcoal drawing. However, these should be used with caution as they may not be as effective or long-lasting as traditional fixatives.
1. Clear Spray Varnish
- A clear spray varnish designed for artwork, such as acrylic or general-purpose varnish, can work in a pinch.
- Choose a matte finish to avoid unwanted shine that might obscure the texture of the charcoal.
- Test the varnish on a scrap piece first, as it might alter the appearance of the drawing.
2. Hairspray
- Regular aerosol hairspray (unscented and alcohol-free) can act as a temporary fixative.
- Use it sparingly, as hairspray is not archival and may yellow or degrade over time.
- It’s best reserved for practice sketches or non-precious pieces rather than finished artworks.
3. Wax Paper Overlay
- For short-term protection, lay a sheet of wax paper or tracing paper over your drawing. This won’t seal it but can prevent smudging until you can apply a fixative.
Addressing the Yellowing Effect
Yellowing occurs when the sealant or paper used in your drawing reacts to environmental factors like light, humidity, or chemicals over time. Here’s how to prevent or minimize this issue:
1. Choose Archival-Quality Materials
- Use acid-free paper and professional-grade fixatives. Acid-free materials resist yellowing caused by chemical reactions.
2. Avoid Hairspray for Finished Work
- Hairspray contains non-archival ingredients that can cause yellowing, particularly on white or lighter papers. Only use it as a last resort for sketches or temporary fixes.
3. Protect from Sunlight and Heat
- Prolonged exposure to UV light can accelerate yellowing. Frame your artwork with UV-protective glass or store it in a dark, cool place.
- Avoid placing sealed drawings in direct sunlight or high-humidity environments.
4. Apply Fixative in Thin Layers
- Over-applying fixative can create a heavy, shiny layer prone to yellowing. Stick to light, even coats and allow proper drying between layers.
5. Monitor Over Time
- Check sealed drawings periodically, especially if they’re stored or displayed in less-than-ideal conditions. Early intervention (like re-spraying with archival fixative) can help slow yellowing.
By using proper techniques and materials, you can protect your charcoal artwork from smudging and preserve its integrity without compromising its appearance over time.
Conclusion
Sealing a charcoal drawing is not just about preserving an artwork; it’s about honoring the time, effort, and creativity poured into it. The choice of materials and methods reflects the care you take in ensuring your art withstands the tests of time. While professional fixatives offer the best protection, creativity often calls for resourcefulness, and alternative methods can still provide a safeguard in the absence of ideal tools.
However, protecting your art is not only about shielding it from physical damage but also from the invisible forces of aging, like yellowing and degradation. Thoughtful preparation, such as using archival-quality materials and framing practices, ensures your work remains a testament to your artistic journey for years to come.
In the end, sealing a charcoal drawing is more than a technical step—it’s an act of respect for your craft and a promise to preserve a moment of inspiration. By taking the time to seal your work thoughtfully, you’re not just protecting it; you’re giving it a legacy.