

Have you ever found yourself looking at a beautiful tree, a captivating portrait, or a charming cityscape, wishing you could accurately capture it on paper? One of the most effective ways to develop this ability is by honing your skills in observational drawing. Unlike drawing from memory or imagination, observational drawing challenges you to look closely at a subject, interpret the nuances of light and shadow, and faithfully recreate the world in front of your eyes. In other words, it’s all about learning to see before you draw. This process involves a blend of perception, understanding of form, and consistent practice—which, when combined, yield impressive results.
In this guide, you’ll learn how to gather the right tools, train your eyes and hands, and overcome common frustrations. By the end, you’ll have a clear roadmap for improving both your accuracy and confidence in drawing from life.
Why Observational Drawing Matters
Observational drawing is the foundation of many artistic disciplines, from portraiture and still life to landscape and architectural sketches. When you draw from observation, you train your eye to pick up even the subtlest details—things like the gentle curve of a leaf or the minute reflection of light in a glass bottle. These details might seem insignificant at first, but they’re what make a drawing feel alive, realistic, and unique.
What makes observational drawing so transformative for beginners?
- Enhanced Perception: Many new artists realize that they’ve never truly looked at objects the way they do once they start drawing. Observational drawing encourages you to slow down, notice shapes, proportions, and negative space, and develop a deeper appreciation for everyday objects and scenes.
- Refined Hand-Eye Coordination: Your hands become more responsive to what your eyes are seeing. Over time, you’ll notice that your lines flow more naturally and your sketches look more convincing.
- Stronger Foundation for Other Art Forms: Whether you want to explore painting, digital art, or illustration, having solid observational drawing skills helps you understand composition, shading, and proportion in a way that can be applied to any medium.
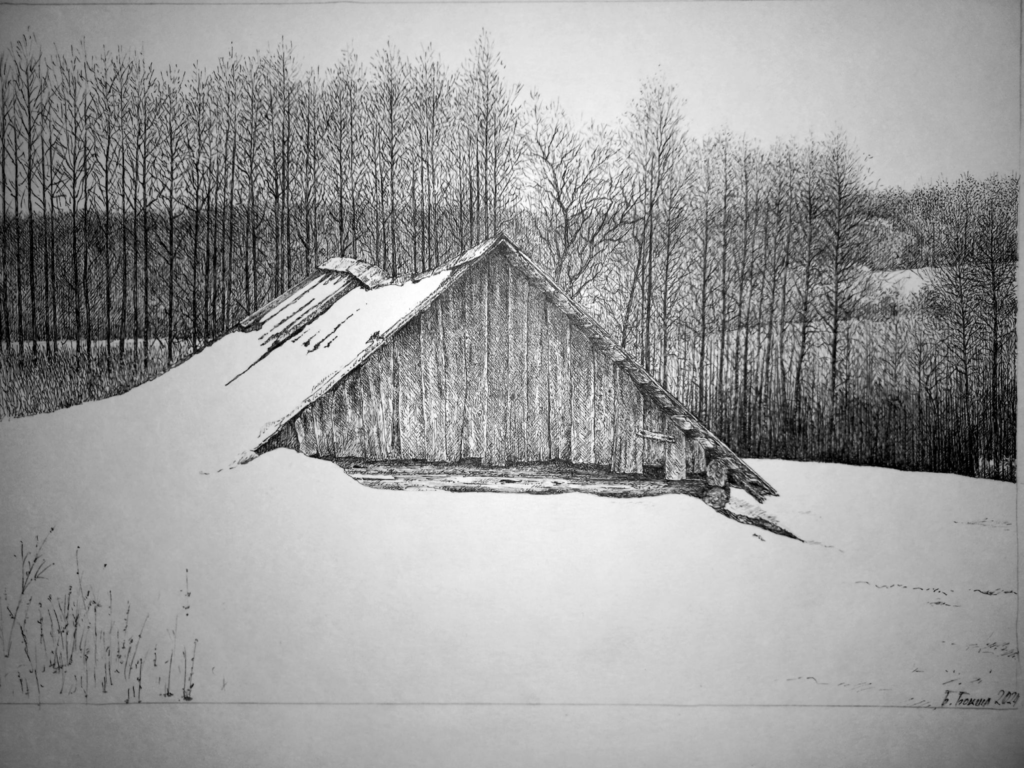
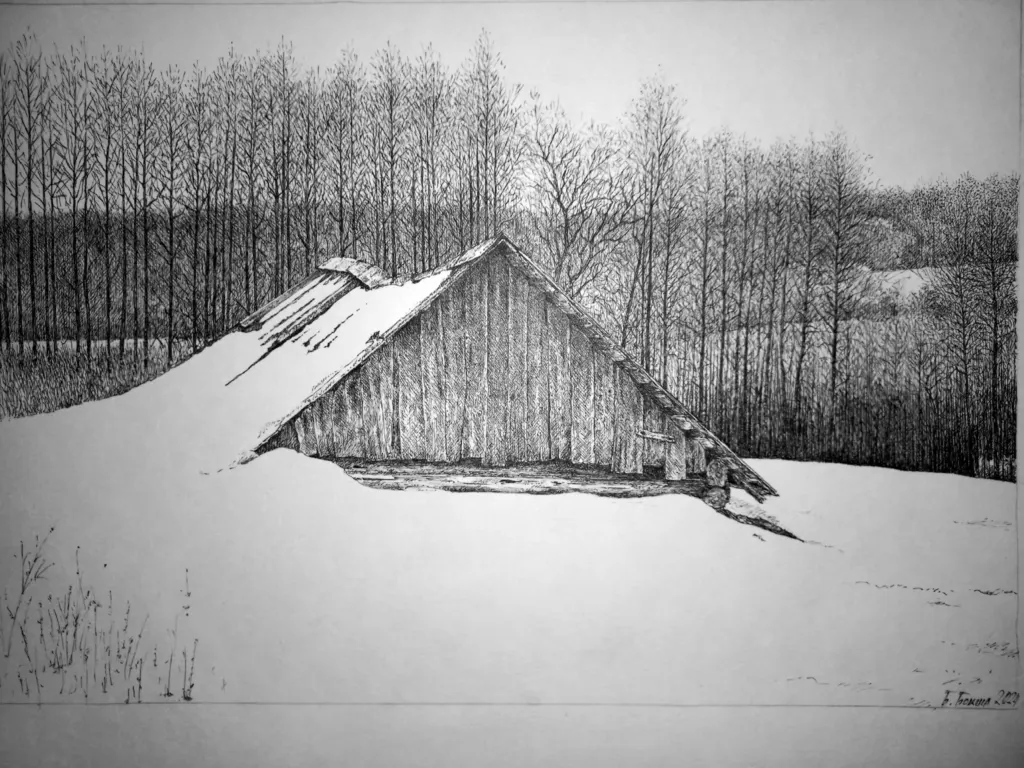
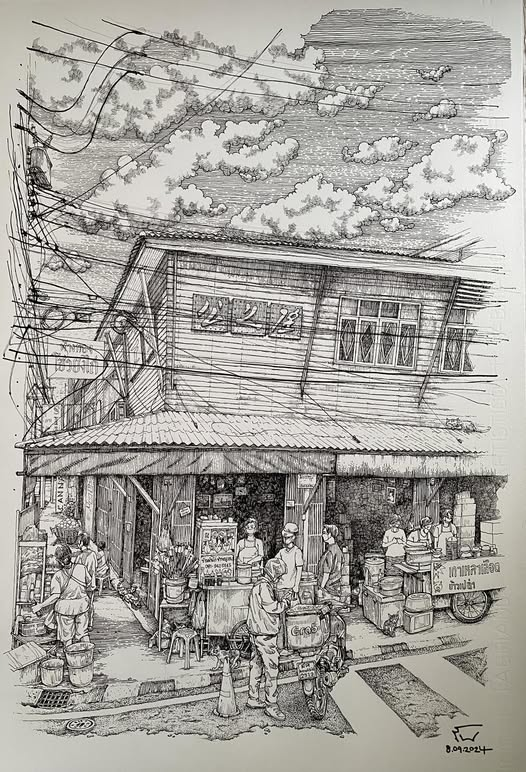
For intricate landscape sketches like this, the Faber-Castell 9000 Graphite Pencils offer exceptional control, smooth shading, and rich tonal depth, making them a must-have for fine detail work.
Getting Started: Essential Materials
You don’t need a fancy or expensive setup to embark on your observational drawing journey. Start with the basics, and gradually expand your toolkit as you discover your personal preferences:
- Graphite Pencils: A few pencils in different hardness grades, such as 2H, HB, 2B, and 4B, will allow you to create varied lines and shading. The H grades are great for light guidelines and subtle details, while the B grades give you darker, softer lines for shading and bold outlines.
- Paper or Sketchbook: A standard sketchbook works well. If you want more durability or smoother surfaces, consider specialized drawing paper with slightly heavier weight.
- Erasers: A kneaded eraser is perfect for gently lifting graphite without damaging the paper. A plastic or vinyl eraser handles heavier erasures, like large mistakes or strong lines.
- Sharpener or Craft Knife: Keeping a sharp tip on your pencil helps produce clear, crisp lines and makes shading more precise.
- Optional Accessories: Blending stumps, tissues, or cotton swabs for smoothing out your shading. A small ruler can help when measuring proportions, though it’s not strictly necessary.
Step 1: Train Your Eyes to See Shapes
One of the biggest mistakes beginners make is trying to draw complex details too soon. Instead, practice simplifying whatever you see into basic geometric shapes. For instance, if you’re drawing a coffee mug, identify the main cylinder for the body, plus a small curved shape for the handle.

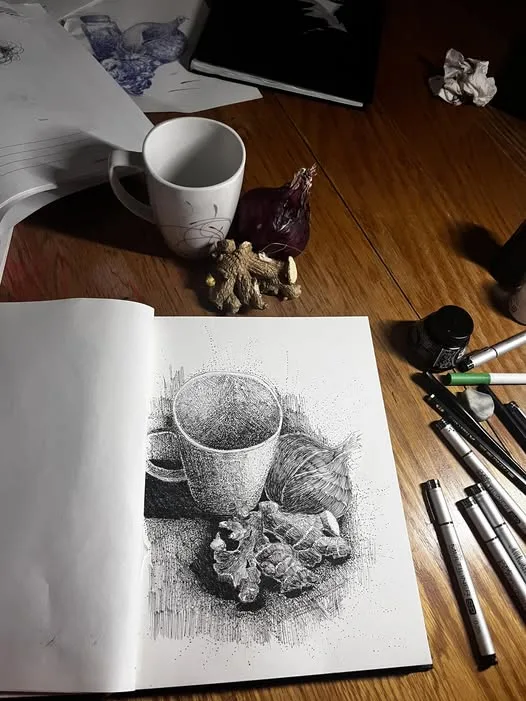
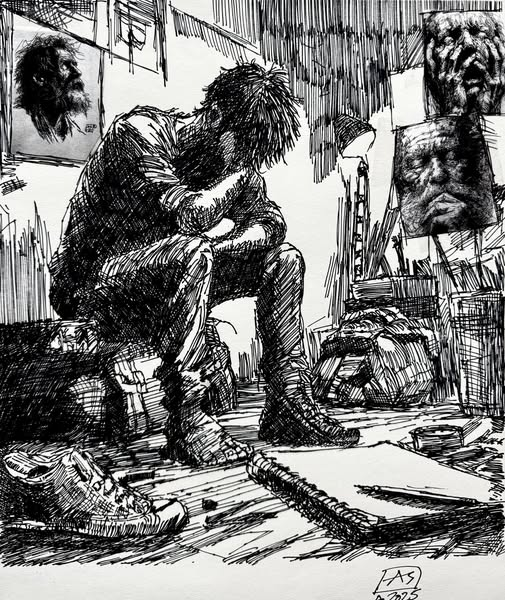
For stunning pen and ink sketches like this, the Staedtler Mars Lumograph provides rich, smooth graphite perfect for underdrawings, shading, and precise detailing.
Exercise: Shape Sketching
- Choose any household item—like a fruit, a mug, or a pair of scissors.
- Draw the item using only basic shapes (circles, rectangles, triangles) to outline its form.
- Don’t rush into details—focus on how these shapes fit together in size, proportion, and placement.
This approach helps you see an object’s overall structure, making it easier to gradually add realistic details.
Step 2: Contour Drawing for Hand-Eye Coordination
Contour drawing is a tried-and-true method for boosting your ability to notice lines, contours, and edges. The goal is to draw exactly what you see, often without looking at your paper, which forces your eyes and hand to work in tandem.
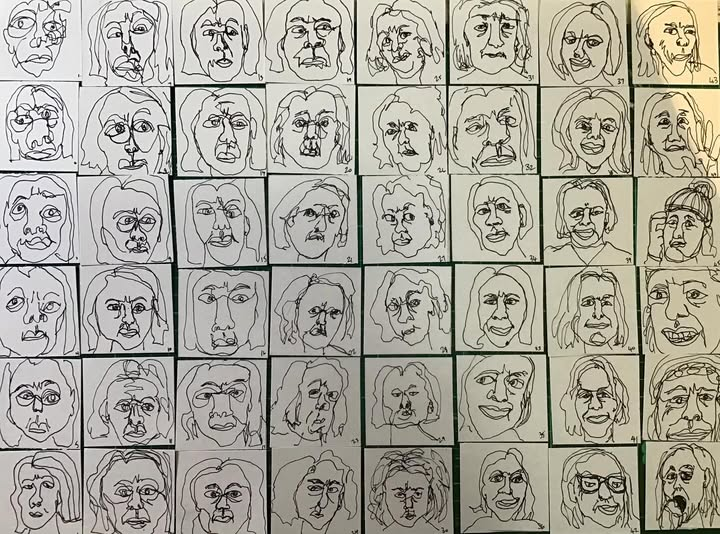
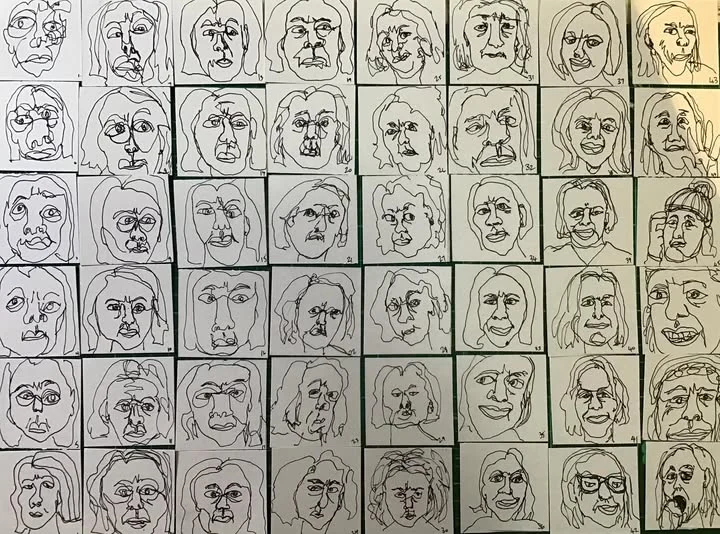
Exercise: Blind Contour Drawing
- Pick a simple subject, like your non-dominant hand or a leaf.
- Keep your eyes on the subject at all times—resist the urge to peek at your paper.
- Very slowly, move your pencil along the paper in sync with your gaze as it traces the object’s edges.
Your initial results may look goofy or warped, but don’t be discouraged. This exercise is less about producing a perfect masterpiece and more about sharpening your observational skills and hand-eye coordination. The key here is process over product.
Step 3: Mastering Proportions and Perspective
Nothing makes a drawing look off faster than wonky proportions. Whether you’re sketching a still life of fruit in a bowl or capturing a skyscraper in a cityscape, it’s essential to get the sizing and angles right.


- Measuring Proportions: Hold your pencil at arm’s length, align it with the object you’re observing, and use your thumb to mark the length. Compare this measurement to other parts of the object. For example, if the apple is half the height of the vase behind it, your drawing should reflect that ratio.
- The Grid Method: You can also lightly sketch a grid over your paper or use a grid overlay on a reference photo to map out the key points. This is especially helpful if you’re new to proportions or working with complex subjects.
- Perspective Basics: When drawing something in three-dimensional space, remember that lines recede toward a vanishing point on the horizon line. Even a simple box can have depth if you carefully draw lines converging as they move farther away.
Step 4: Shading and Understanding Light
Shading brings your drawings to life, transforming flat outlines into dynamic forms. To shade effectively, you must observe how light interacts with the subject. Where does the light source come from? How intense is it, and how does it affect highlights and shadows?


- Highlights and Shadows: The brightest spot where light hits is called a highlight. The darkest area, farthest from the light, is your core shadow. Between these extremes, you’ll find midtones and reflected light.
- Hatching and Cross-Hatching: Build up tone gradually by using parallel lines (hatching) or intersecting lines (cross-hatching). You can create depth by varying the spacing of lines—closer lines appear darker, while more spaced-out lines appear lighter.
- Blending: Use a blending stump, tissue, or even your fingertip (careful with skin oils) to soften transitions between light and dark. For a more textured look, light layering of graphite can be left unblended, showcasing the distinct pencil strokes.

Step 5: Practice, Practice, Practice
Consistency is the secret sauce to becoming good at drawing. Try setting aside a few minutes or even an hour each day to sketch the world around you. Draw anything from the corner of your room to a plant on the windowsill. When you’re bored, look for interesting textures or patterns—like the folds of fabric or the details of your shoes—and sketch them as a quick study.


- Gesture Drawing: If you have limited time, do rapid-fire gesture sketches. Spend just 30 seconds to a minute capturing the main forms and energy of a subject. This helps you loosen up and develop a more intuitive feel for composition.
- Variety in Subjects: Don’t just stick to one type of subject. Experiment with drawing objects, landscapes, people, and animals. Each subject teaches you different lessons in proportion, texture, and light.
Overcoming Common Pitfalls

- Fear of Mistakes: Remember, every line you draw—and later correct—is a step toward improvement. Use mistakes as learning opportunities.
- Frustration with Slow Progress: Observational drawing is a skill that develops gradually. Celebrate small victories—like a more accurate shape or smoother shading—rather than worrying about overnight leaps.
- Impatience with Detailed Work: Start with broader shapes and gradually refine. If you dive into tiny details right away, you may lose sight of the overall composition.
Finding Inspiration and Staying Motivated
If you ever feel stuck, consider looking at the works of renowned artists like Leonardo da Vinci, Albrecht Dürer, or contemporary realists who excel at capturing everyday subjects. Notice how they tackle perspective, lighting, and intricate details. Another way to stay motivated is by joining a local sketch group, visiting museums, or participating in online art challenges. Surrounding yourself with fellow art enthusiasts can invigorate your creative energy and push you to keep improving.
Final Thoughts: Embrace the Journey
Observational drawing isn’t just a skill—it’s a mindful practice that encourages you to truly engage with the world around you. Each sketch is a chance to slow down, focus, and appreciate the beauty in ordinary objects or everyday scenes. With every pencil stroke, you’ll train your eyes to see shapes, value transitions, and proportions more clearly. Over time, those awkward early sketches will give way to more confident, expressive drawings that capture your unique perspective on reality.
So keep your pencils sharpened, your eraser handy, and your eyes wide open. You’ll find that, with patience and persistence, observational drawing becomes not just something you practice but a rewarding way of looking at life. Happy sketching!