


If you can master painting clouds, you instantly elevate the atmosphere of any watercolor scene. A good sky sets the mood, adds depth, and brings an awe-inspiring touch to your work. Today, we’re walking you through an easy tutorial on painting stunning, soft clouds using watercolors. Let’s dive right in!
Materials You’ll Need
- Watercolor paper
- Large mop brush
- Watercolors: Raw Sienna, Rose Madder Permanent, Ultramarine Blue, Lavender, Cerulean Blue, Neutral Tint
- Two water containers
- Palette
- Paper towel or cloth
Painting Clouds with Watercolors Step-by-Step Tutorial
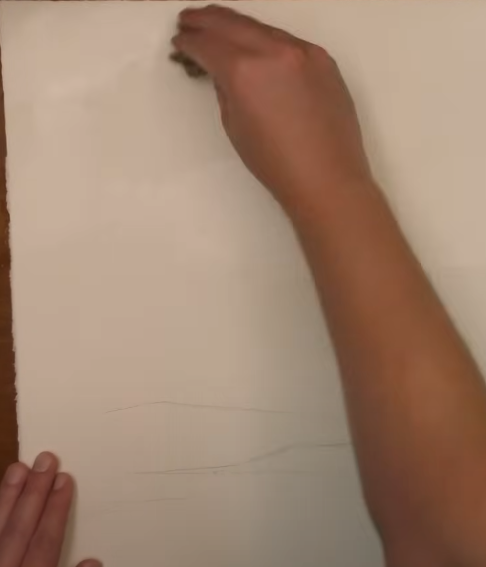
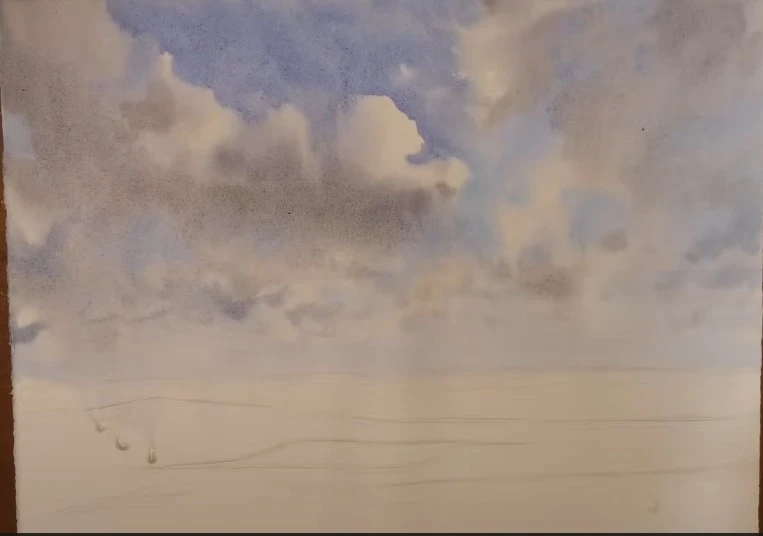
1. Lightly Sketch the Main Cloud Shape
Start by lightly sketching a rough outline of your clouds. Keep your pencil marks faint—you don’t want strong lines showing through your watercolor later. Plan one main cloud to stand out and allow others to flow randomly around it.


2. Thoroughly Wet Your Paper
Wet both the front and back of your watercolor paper to keep it moist longer. This gives you more time to blend and work your paint into the perfect soft sky.

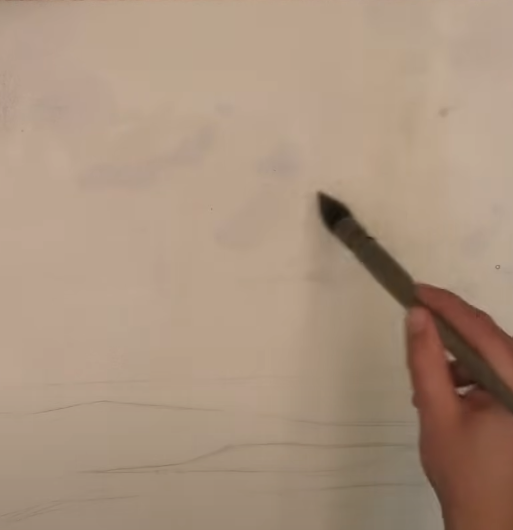
3. Mix a Soft Base Color for the Clouds
Create a gentle, warm gray by mixing Raw Sienna, Rose Madder Permanent, and a touch of Ultramarine Blue. Lightly brush this color across the areas where your clouds will be. Focus on creating an impression of clouds, not copying any reference exactly.

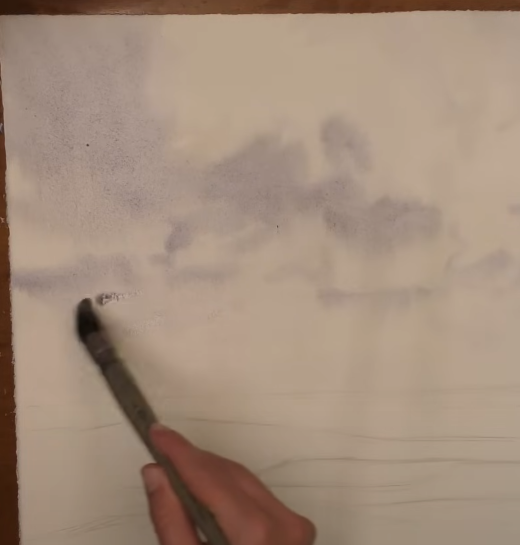
4. Add Subtle Variations
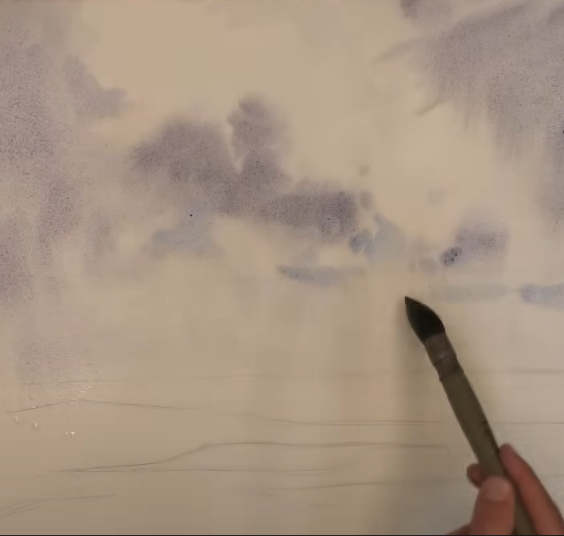
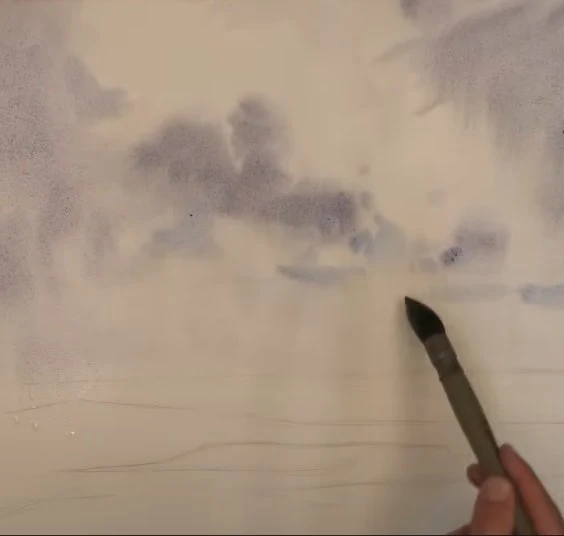
Introduce some Lavender into your original mix, darkening it slightly. Use this to add gentle, wet-into-wet differences inside your clouds. Remember: as you move closer to the horizon, clouds tend to be smaller and more numerous, so add more little marks in that area.
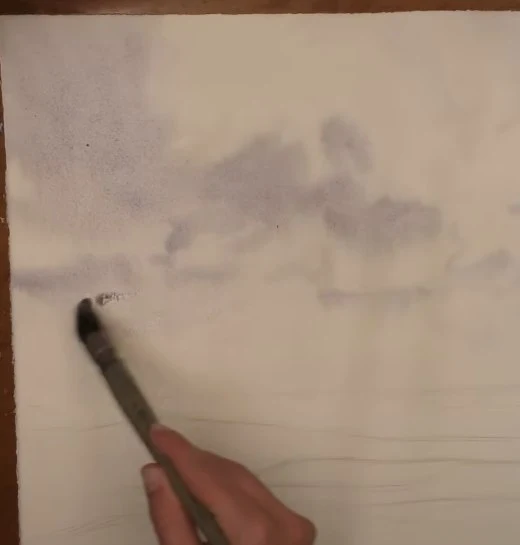
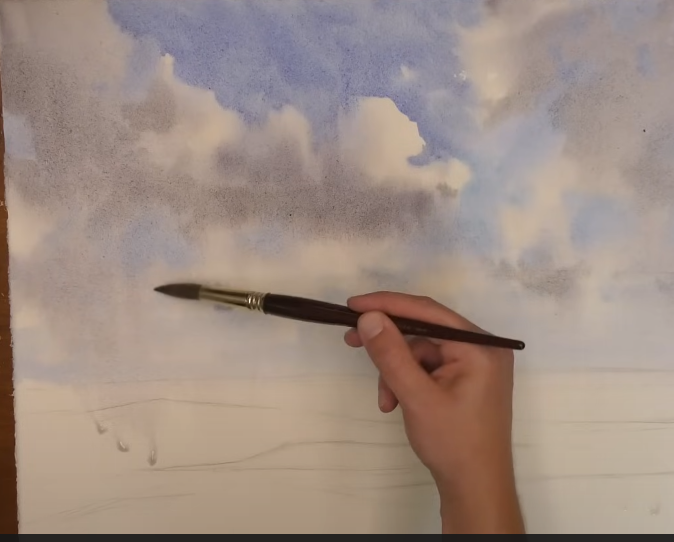
5. Build Depth with a Darker Tone
Mix a slightly stronger color using Neutral Tint, Lavender, and Cerulean Blue. Use this to gently suggest the undersides of your clouds, creating depth and a three-dimensional look. Vary your brush technique by turning it on its side or tip for a natural, organic effect.
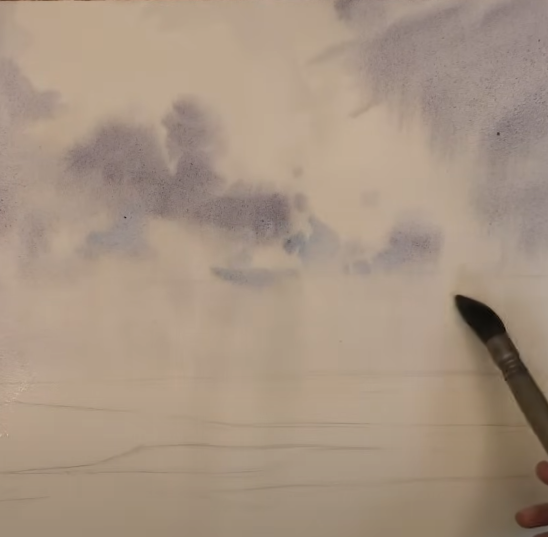
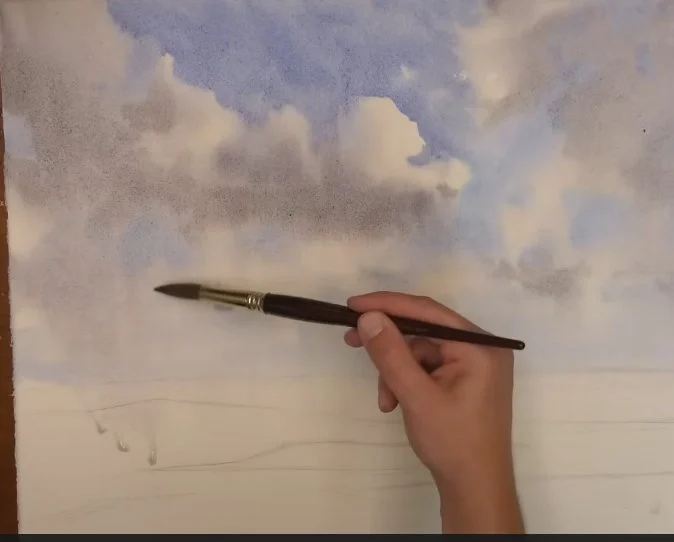
6. Cool Down with Cerulean Blue
Soften some areas by adding Cerulean Blue into your mix. This step cools off certain parts of your clouds and keeps the overall palette balanced between warm and cool tones.

7. Paint the Rich Blue Sky
Mix a strong blue using Cerulean, Ultramarine, and a little Lavender. Use this to define the open sky areas around your clouds, especially near the top. Allow some of the blue to bleed slightly into the cloud edges—it will make them look soft and natural.
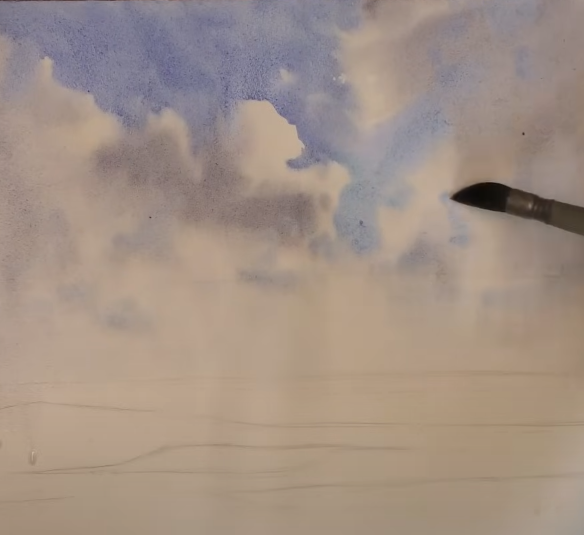

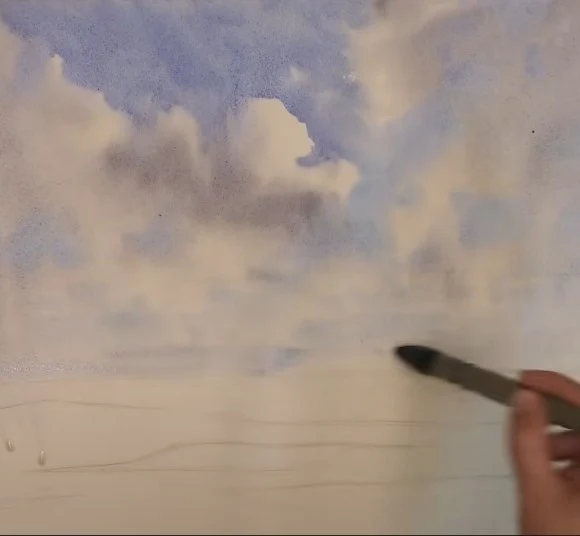
8. Fade the Sky Toward the Horizon
As you paint downward, lighten your blue by adding more water. The sky near the horizon should be paler and less saturated than at the top. This gradient adds realism and depth to your sky.

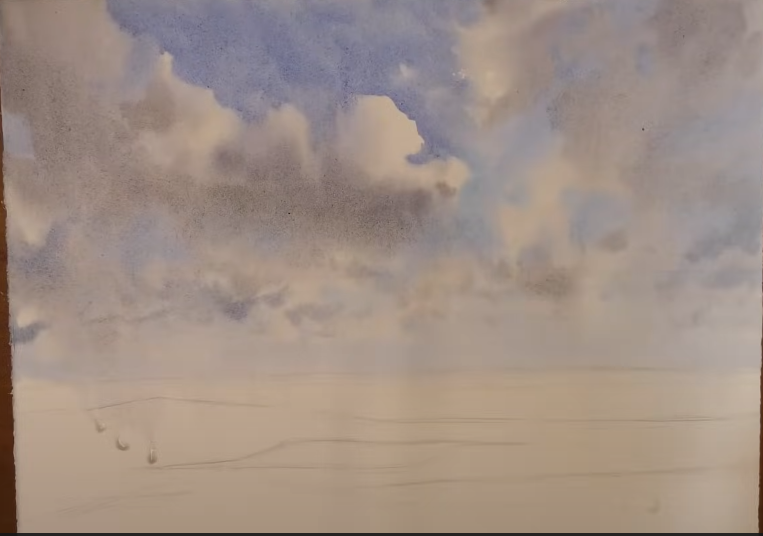
9. Deepen Shadows for Final Touches
Mix a darker shade again using Lavender, Neutral Tint, and a touch of Cerulean. Gently add a few darker accents on the underside of your main clouds to increase drama and form. Be cautious not to overdo it—less is more at this stage.
10. Step Back and Assess
Before you do too much, step back from your painting. Look for any areas that feel repetitive or need a little variety. Add a few final marks if needed to break up boring sections, and you’re done!
Final Tips for Success
- Work quickly while your paper is wet for the softest blends.
- Think impressionistically—capture the feeling of clouds, not every tiny detail.
- Plan ahead where your main clouds will be to avoid a chaotic look.
- Use your brush creatively, switching between its sides, tips, and turns for varied cloud shapes.
You can also check out more artist nurturing tutorials from our collection:
Easy Beachscape Painting Tutorial for Beginners and Intermediates plus Painting Ideas
How to Paint Realistic Tress: A Complete Beginner’s Guide
A step-by-step guide to Painting Water with Acrylics
10 Seamless Steps to Draw a Rose for Intermediate Artists
Conclusion
Painting clouds in watercolor is about more than just shapes—it’s about capturing atmosphere, emotion, and movement. By working quickly on wet paper, blending warm and cool tones, and focusing on impressions rather than rigid forms, you can create skies that breathe life into your entire scene. With a little practice, these soft, gliding clouds will become one of the most expressive elements in your watercolor toolkit. Keep experimenting, stay loose with your brushwork, and above all, enjoy the beauty of painting skies that feel alive.
Frequently Asked Questions
How to paint clouds in watercolor step by step?
Start by lightly sketching your cloud shapes. Wet both sides of your paper thoroughly, then lay down a soft, warm base color where the clouds will be. Add subtle wet-into-wet variations using darker tones, paint the rich blue sky around your clouds, and gently fade the blue toward the horizon. Finish by deepening the shadows under the clouds for a three-dimensional effect, always working quickly while the paper remains damp.
How to color a cloudy sky?
Color a cloudy sky by layering soft grays, blues, and warm hues like raw sienna and rose madder. Begin with the lightest tones and build depth by adding cooler or darker mixes. Keep transitions gentle and natural by using a wet-on-wet technique, allowing colors to blend organically across the sky.
How do you draw a beautiful sky with watercolors?
To draw and paint a beautiful sky, lightly sketch your main cloud shapes with minimal pencil pressure. Focus on creating an impression of the sky rather than exact replication. Use a large brush, work wet into wet for soft blends, and vary your blues as you move from the top of the sky to the horizon to create a realistic gradient.
What is the watercolor glazing technique?
Watercolor glazing involves applying thin, transparent layers of paint over a dry layer to build up color depth and subtle shifts in tone. Each layer must dry completely before adding the next. It’s a method that allows for controlled, luminous color effects without muddying previous work.