
Sculpting a bust can seem intimidating, but with the right steps and a patient approach, anyone can get started. Here’s a simplified guide based on sculptor Andrew Joseph Heath’s method, perfect for beginners eager to learn portrait sculpting with clay.
Gather Your Materials
Before you start sculpting your bust, make sure you have all the essential materials ready. Andrew Joseph Heath keeps things simple, using tools and supplies that are easy for beginners to source:
i. Reference Photos
- Collect multiple high-quality images of your subject.
- Prioritize clear side profile, front, and three-quarter views.
- If possible, take your own 360° photos by having the subject turn slowly while maintaining the same expression.
- Pro tip: Zoom in from a distance to avoid distortion.
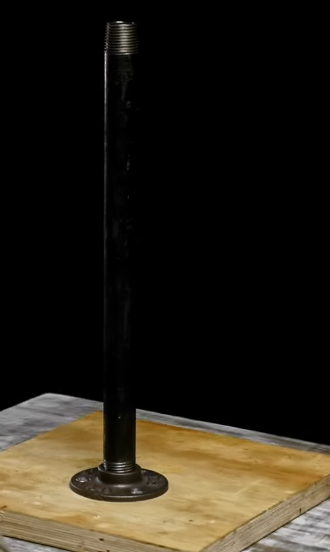
ii. Armature Base
- Plywood board (for the base)
- Floor flange (hardware used to secure the vertical rod)
- Metal rod (supports the sculpture)
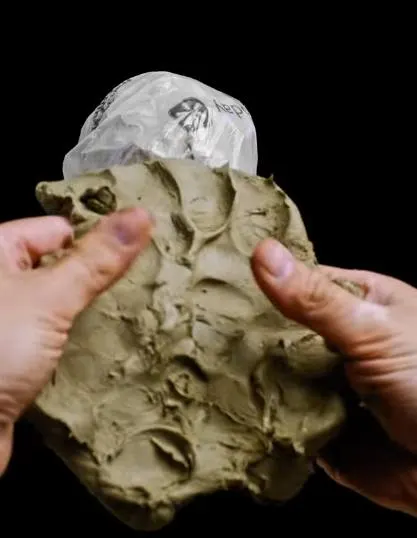
- Crumpled paper and a paper bag (to bulk out the head and save clay)
- Twine or tape to secure the paper
This simple setup gives you a sturdy foundation to build on and helps keep your sculpture lightweight.
iii. Clay
- Use non-drying oil-based clay like Chavant NSP Medium (Non-Sulfurated Plasteline).
- This clay stays workable indefinitely and is great for beginners because it allows endless revisions.
iv. Basic Tools
- Loop tool (for removing and shaping clay)
- Flat spatula tool (for smoothing and shaping forms)
- Knife or stylus (to draw guidelines and carve details)
- Your hands – often the best tools for early shaping and soft blending
Simple Steps to learn How to Sculpt a Clay Bust
1. Gather Clear Reference Photos
Start with high-quality reference images of your subject, ideally from multiple angles—especially the side profile. If you’re taking your own, have the subject rotate 360° slowly while keeping the same facial expression, and use zoom to avoid distortion.
2. Build a Simple Armature
Create a base for your sculpture using a wooden board, a floor flange, and a vertical metal rod. Wrap it with crumpled paper and a paper bag to bulk out the form without wasting clay.

3. Use Non-Drying Clay
Heath uses Chavant NSP Medium—an oil- and wax-based clay that doesn’t dry out. Perfect for projects that take time and require lots of adjustments.

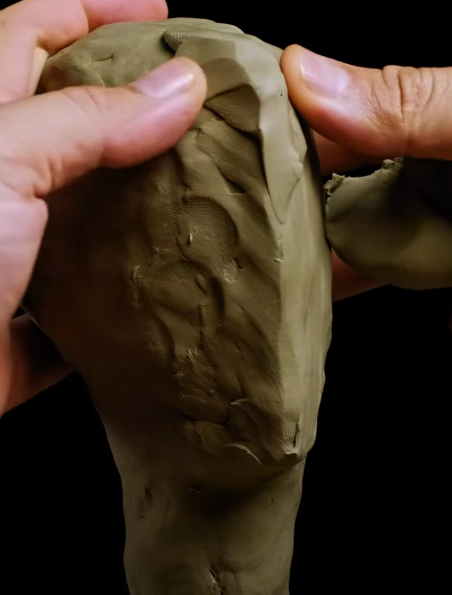
4. Block in the Basic Head Shape
Start by forming a wedge or axe-like head shape that tapers at the front and is wider at the back. This rough block-in gives you a base to sculpt on.

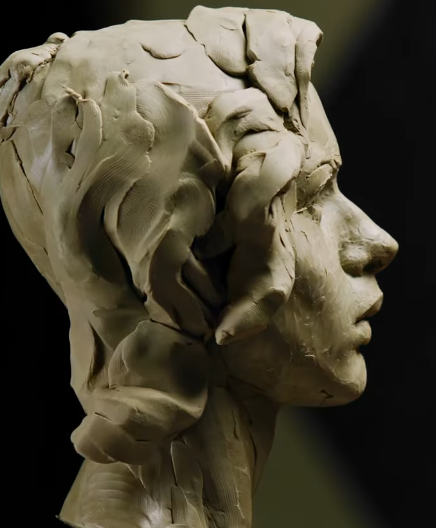
5. Outline the Side Profile
Using your references, shape the side profile of the face carefully. This will serve as your main guideline and helps ensure accuracy in likeness and proportions.

6. Mark the High Points of the Skull
Use tools to define bony landmarks—eye ridges, cheekbones, jawlines, and the back of the skull. Think of the face without soft tissues and focus on building this “skeletal” structure first.

7. Add the Main Facial Masses
Next, build up clay on the mound of the mouth, chin, and cheeks. Layer these on top of the underlying structure to create the three-dimensional form.
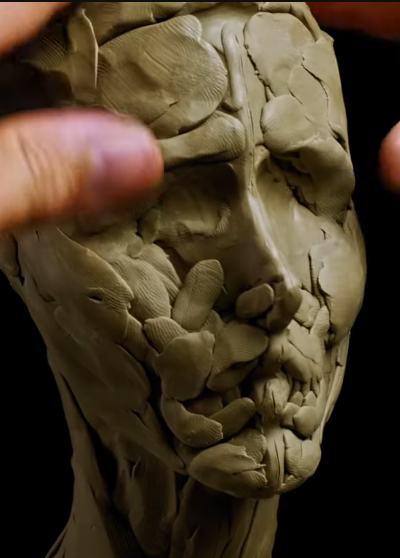

8. Shift to Front View Details
Once the side is shaped, focus on the face from the front view. Carefully build the nose, lips, and nostrils with small clay pieces. Add ears to help anchor proportions.
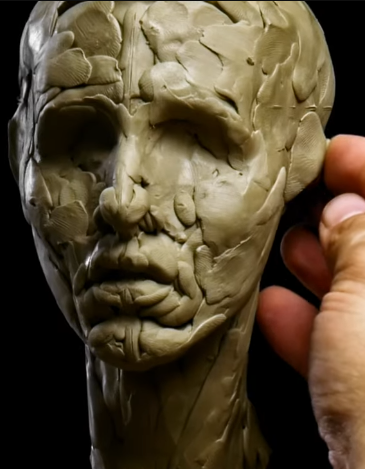

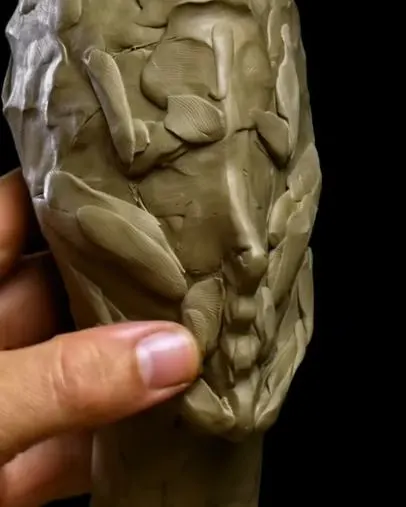
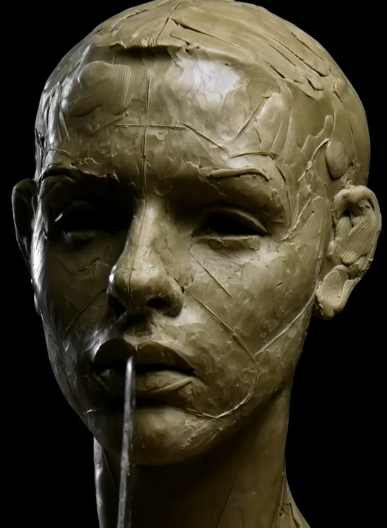
9. Add Muscles and Fat Pads
To make your sculpture lifelike, begin layering the soft tissue over the bony forms. Pay special attention to fat pads (cheeks, jawline, etc.), which shape the face even more than muscles do.

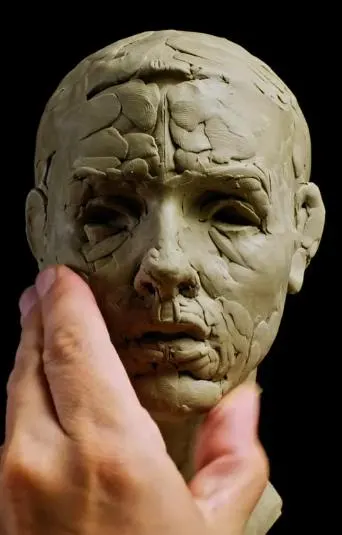
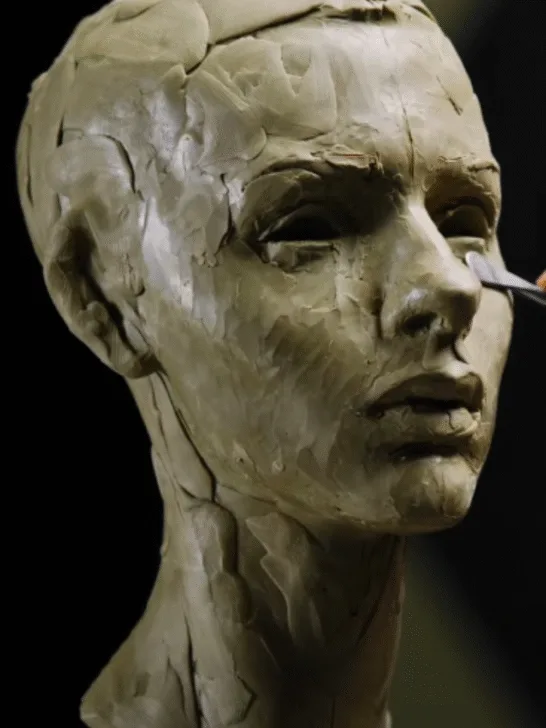
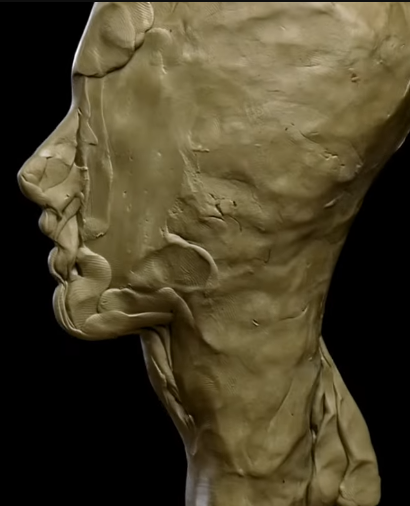
10. Smooth and Refine
Use a flat sculpting tool or your fingers to smooth clay across the forms. Always smooth perpendicular to the shape to soften it realistically—like cheekbones or neck muscles.

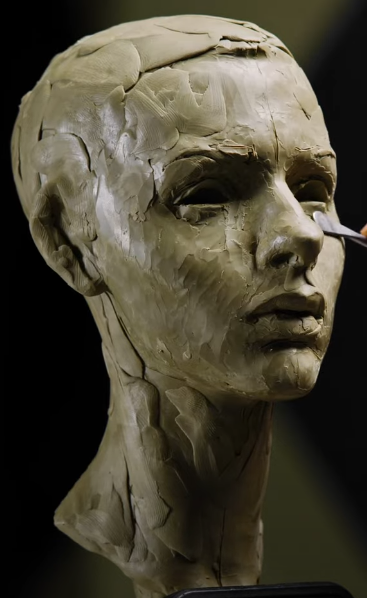
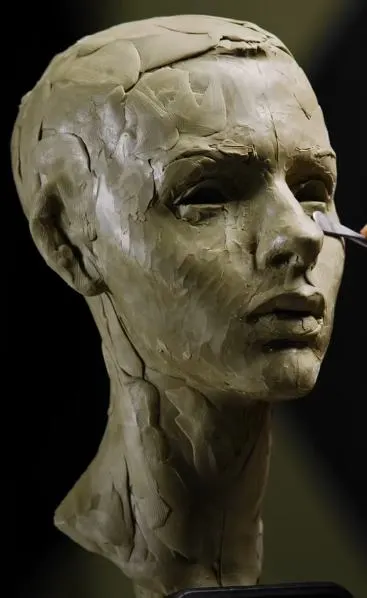
11. Sculpt Eyes and Eyelids
Fill the eye sockets with clay, then draw and carve the irises and pupils. The subtle bowl shape of the eyes gives them depth and realism.
12. Add the Hair in Chunks
Think of hair as large flowing shapes, not strands. Add clay in clumps and shape it loosely to match the general flow. Use a tool to add light texture along the direction of growth.

13. Carve in Guidelines and Check Symmetry
Use a knife to draw in guide lines like the centerline and shadow shapes. This keeps you on track and lets you easily compare both sides for balance.
14. Refine, Adjust, and Don’t Be Afraid to Restart
Even pros don’t always get it right on the first try. If something feels off—like the eyes—cut it off and redo it. Sculpting is iterative, and each try improves your skills.
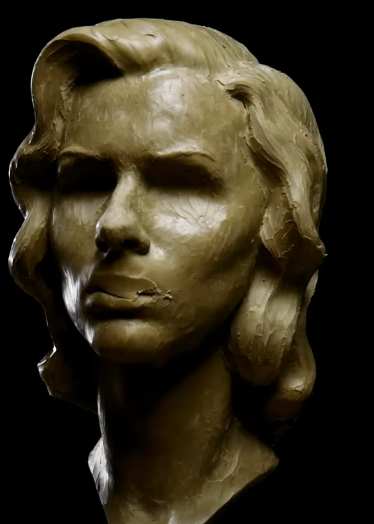
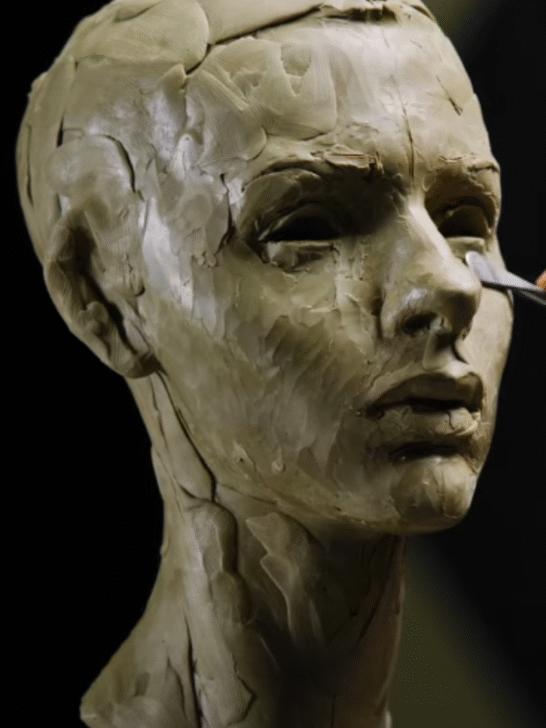
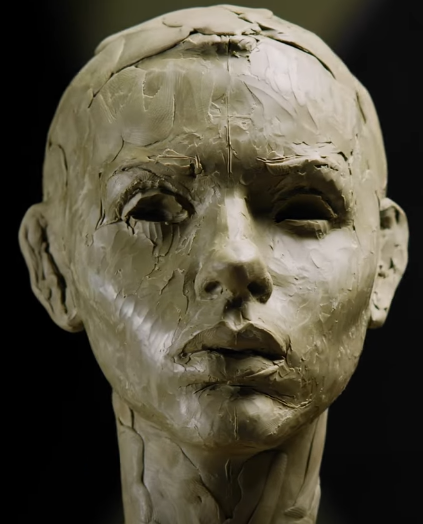
15. Final Touches
Finish off by refining textures, smoothing transitions, and harmonizing the entire form so no area looks neglected. Observe your reference constantly and tweak your bust until it captures the likeness you’re aiming for.
You can also check out:
10 Beautiful Pottery with Clay Ideas for Gifts, Decor and More
10 Intriguing Ideas for Sculpting the Human Figure in Stone
Frequently Asked Questions
How long does it take to sculpt a bust?
The time it takes to sculpt a bust varies depending on your experience, the level of detail, and the size of the piece. For beginners, a simple bust may take anywhere from 10 to 20 hours spread over several days. More advanced, lifelike sculptures can take 40 hours or more. Patience is key—sculpting is a gradual, layered process.
How to soften clay for sculpting?
To soften non-drying clay like plasteline or oil-based clay, you can warm it up slightly using your hands, a heat gun on low, or by placing it near a warm lamp. Kneading it continuously will also help make it more malleable. Avoid using too much heat, as it can melt or overly soften the clay and affect its consistency.
How to make sculpting clay at home?
You can make homemade sculpting clay using simple ingredients like flour, cornstarch, water, and salt. For an air-dry version, mix 2 cups flour, 1 cup salt, and 1 cup water. For a smoother texture, add 2 tablespoons of oil and a bit of cornstarch. Keep in mind that homemade clays are best for practice or craft projects—not ideal for fine bust sculpting.
What tools are used to sculpt clay?
Common tools for clay sculpting include loop tools (for carving and shaping), spatula tools (for smoothing), wire cutters (for cutting blocks), and styluses or knives (for fine detail work). Many sculptors also use their fingers for shaping and blending. As you grow in skill, you can add specialized tools for texture, symmetry checking, and surface refinement.
Conclusion
Sculpting a clay bust is one of the most rewarding ways to develop your understanding of form, anatomy, and artistic observation. While it may seem complex at first, breaking the process down into manageable steps—starting with strong references, building a simple armature, and gradually layering in form and detail—makes it both approachable and enjoyable. With the right tools, materials, and mindset, anyone can begin their journey into portrait sculpting.