
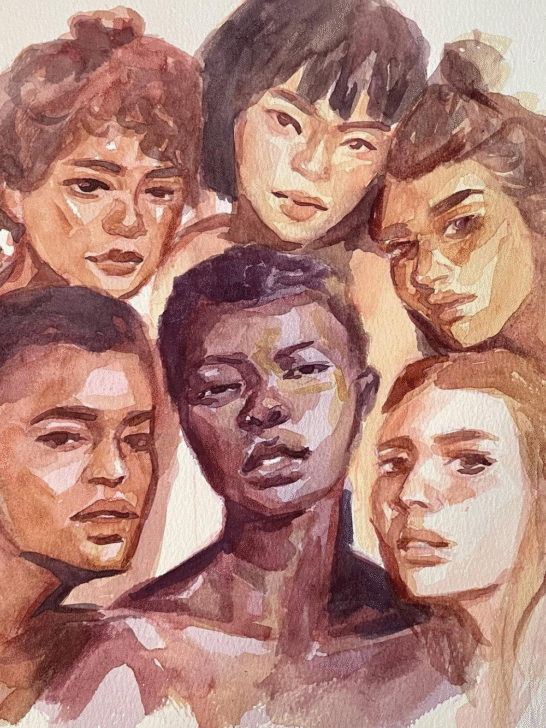
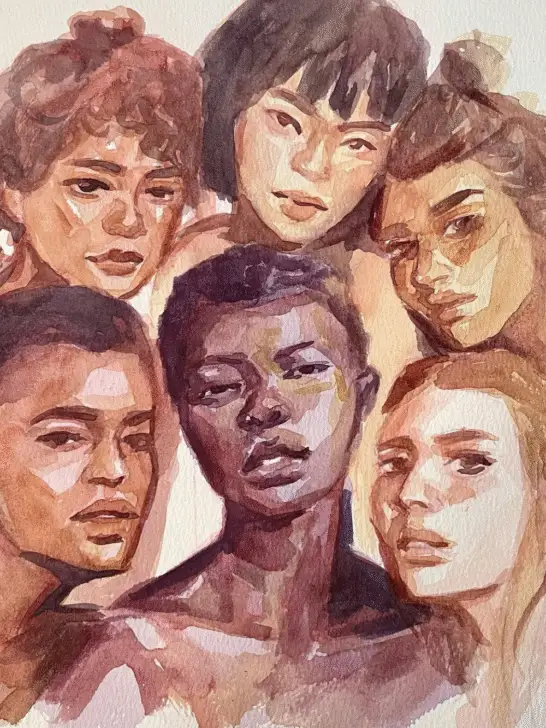
Mixing skin tones can be one of the trickiest parts of painting portraits—but it doesn’t have to be. In this easy guide, you’ll learn how to create natural-looking skin tones using just primary colors and white. Whether you’re painting with acrylics for the first time or refining your palette, these practical steps will help you avoid muddy mixes and build a reliable range of skin tones.
Equipment Used
Chromacryl acrylic paint (warm and cool versions of each primary colour)
Art Spectrum brushes series 2000
Palette Knife or Mixing Brush
Paper Towels or Cloth
How to Mix Skin Tones in Acrylic Paint
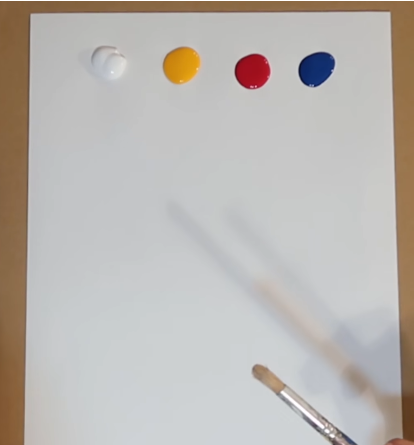
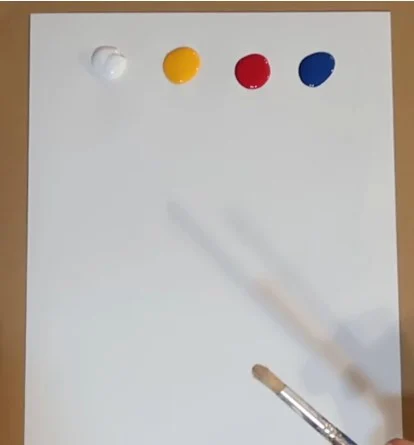
Step 1: Start with the Right Colors
To create skin tones, all you need are the three primary colors and white:
Tip: Skip black—it’s not needed when mixing skin tones, as it can dull the final shade.
- Titanium White
- Warm Yellow (preferably with a slight orange tint)
- Cool Red
- Warm Blue
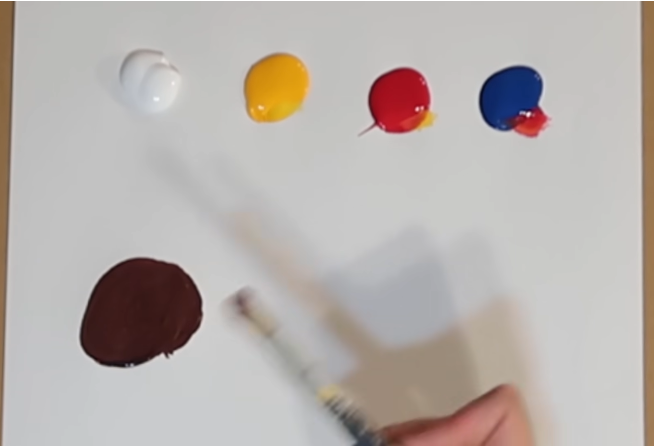
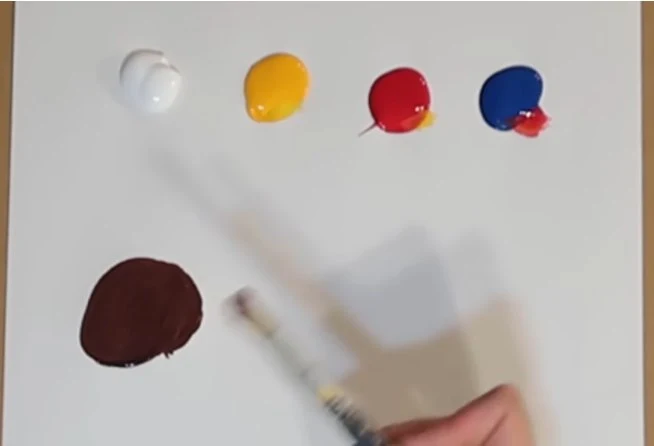
Step 2: Mix a Neutral Brown Base
Skin tones are essentially variations of brown. To mix your base:
- Combine roughly equal parts of yellow, red, and blue to create a brown.
- Mix these colors side-by-side on your palette to keep your paints uncontaminated.
- Adjust until you reach a rich, medium-brown tone—this is your foundation for all skin tones.
Step 3: Add White to Lighten
Next, lighten the brown to achieve your desired skin tone:
- Add titanium white to a portion of the brown mix, not the whole batch.
- Mix it in a new area on your palette so you can track each variation.
- If the mix looks too pink, add a bit of yellow—skin tones generally lean more yellow than red.


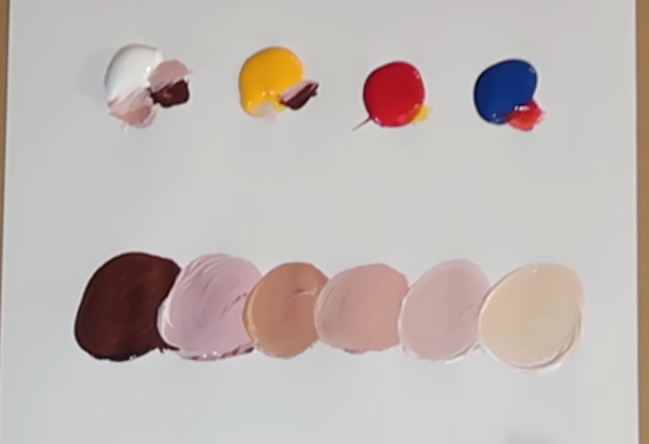
Step 4: Build a Range of Tones
To create realistic results, don’t rely on just one skin tone:
- Gradually add more white to create lighter variations.
- Adjust with small amounts of yellow or red to shift the warmth or undertone.
- Create a gradient across your palette, maintaining each color patch separately for easy reference.

Step 5: Store Your Paints Properly
Acrylics dry fast, so here’s how to keep them usable:
- Spray a little water over your paint to keep it moist.
- Use a plastic food container (like an olive pot) with a tight seal.
- Cover with cling film or the container’s lid to store your palette for up to 24 hours.
Also try checking out:
A Complete Guide to Paint Realistic Water in Acrylics
Top Picks Acrylic Paints in Quality and Performance for Artists
25 Mind=blowing Acrylic Painting Ideas to Spark your Creativity
Easy Acrylic Beachscape Painting Tutorial plus Painting Ideas
Quick Tips Recap
- Always mix next to your original color, not into it.
- Keep each tone separate for reference and layering.
- Start with a brown base, then modify with white and subtle color shifts.
- Reuse plastic containers to store your mixes overnight.
Frequently Asked Questions
How do I match my skin tone with color?
To match your skin tone, start with a neutral brown made from primary colors. Adjust the warmth with yellow or red, and use white to lighten. Observe undertones in your reference and reflect them subtly in your mix.
How do you blend two skin tones?
Blend two skin tones by gradually mixing small amounts of one color into another, creating intermediate shades in between. This helps transition smoothly between shadows, highlights, and midtones.
How do I know my skin tone?
Look at the undertones of your skin—if you see more yellow, you have warm undertones; if there’s more pink or blue, you’re cooler. Natural light and comparison against a white background help reveal true undertones.
What three colors make white?
In painting, you can’t mix colors to create true white—white paint (usually titanium white) must be used as-is. However, in light theory (like with screens), red, green, and blue light combine to make white.